


About
We have Denmark to thank for the original creation of the beloved Wisconsin Kringle. The golden-brown dough is made with lots of love and filled with sweet, walnut-infused goodness. Shaped into the most beautiful yet simple braid and drizzled with a sugary glaze, it's a feast for the eyes. But never fear–Wisconsin Kringle is never too beautiful to eat.


Ingredients
- 1 cup butter, cold, plus 1 cup butter, softened, divided
- 2 cups all-purpose flour, sifted, plus more, to taste
- 1 cup sour cream
- 2 cups brown sugar
- 1 1/2 cups English walnuts, chopped, divided
- 1 cup confectioners' sugar
- 2 tablespoons water
Directions
Step 1 -In a large bowl, cut 1 cup of the cold butter into 2 cups of the flour until crumbly, forming pea-sized chunks.
Step 2 -Stir in the sour cream and mix well. The dough should be very sticky.
Step 3 -Form the dough into a ball.
Step 4 -Cover the dough tightly with plastic wrap and refrigerate for at least 8 hours or up to overnight.
Step 5 -Preheat the oven to 375 degrees F.
Step 6 -Lightly grease a baking sheet.
Step 7 -Prepare the filling by combining the remaining softened butter with the brown sugar and 1 cup of the chopped walnuts.
Step 8 -Take the dough out of the refrigerator and divide it into 3 equal portions. Return 2 portions to the refrigerator to keep cold.
Step 9 -Quickly form 1/3 of the dough into a rectangle and using the extra flour, lightly dust the rectangle.
Step 10 -Using the extra flour, heavily dust a flat surface, then roll out the dough to approximately 12x17 inches in size.
Step 11 -Position the dough lengthwise on the work surface.
Step 12 -Along the long edges of the dough rectangle, use a sharp knife to cut 4-inch-long angled lines, about 1/2-inch apart.
Step 13 -Spoon 1/3 of the filling along the length of the rectangle's uncut center.
Step 14 -Alternating from one side of the dough to the other, fold each 1/2-inch wide strip towards the center, crisscrossing the filling in a braid-like fashion.
Step 15 -Lightly press together the ends of the strips to seal.
Step 16 -Sprinkle with 1/3 of the remaining walnuts.
Step 17 -Repeat the shaping, filling, and braiding processes with the remaining ingredients to form 3 braided danishes in total.
Step 18 -Place the 3 danishes on the prepared baking sheets.
Step 19 -Bake the danishes until they are golden-brown, about 30 minutes.
Step 20 -Take the danishes out of the oven and cool them for about 30 minutes.
Step 21 -While the danishes are cooling, mix the confectioners' sugar and the water until a smooth icing forms.
Step 22 -Drizzle the icing in fine streams over the warm danishes.
Step 23 -Slice and serve.

Grocery Prices Are Out of Control — These Tricks Will Help
Sponsored

Do You Know These 9 Sam's Club Hacks?
By: Jennifer A.
The Dumb Money Mistake You’re Probably Still Making
Sponsored
14 Easter Recipes
By: Rosa L.
Bacon Sweet Potato Casserole
Side Dishes
15 Sheet Cake Recipes
By: Jennifer A.

Church Lunch Soup
Soups & Salads
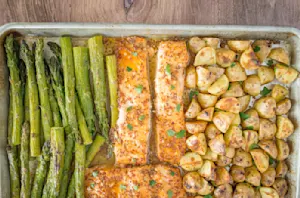
13 Sheet-Pan Recipes
By: Rosa L.
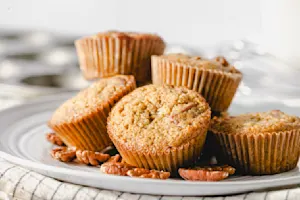
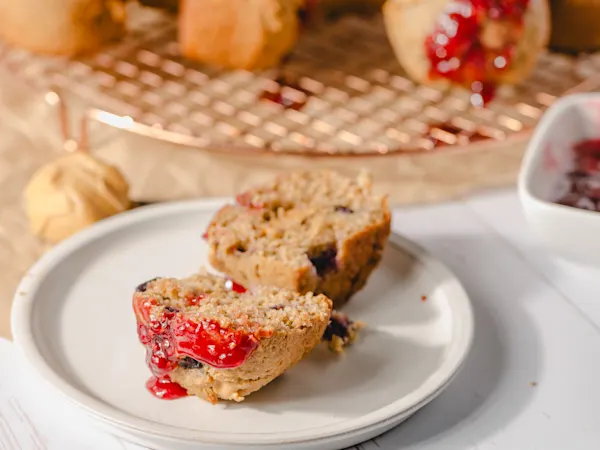
Southern Pecan Pie Muffins
Breakfast & Brunch
9x13 Dinner Recipes
By: Rosa L.
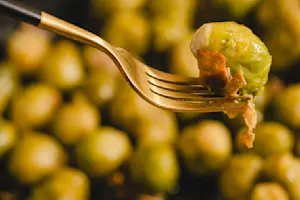
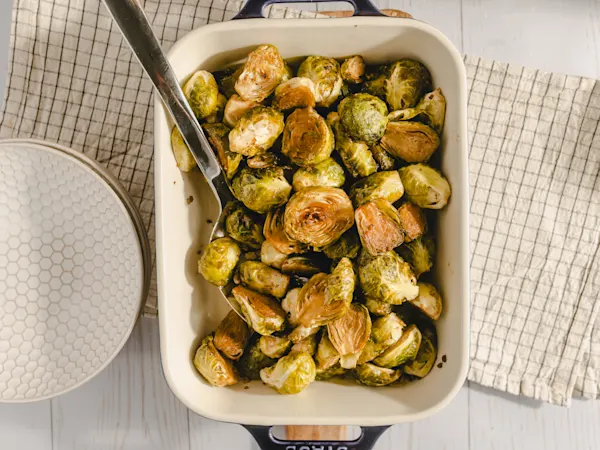
Thanksgiving Brussels Sprouts
Side Dishes

15 Spring Veggie Recipes
By: Jennifer A.
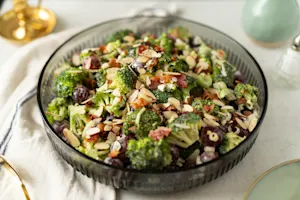
Thanksgiving Broccoli Salad
Soups & Salads
15 Retro Recipes
By: Jennifer A.
Simple Beef Dinner
Main Courses
12 Mother's Day Treats
By: Rosa L.
Famous Beef Pie
Main Courses
12 Mother's Day Dishes
By: Jennifer A.
Hamburger Potato Bake
Main Courses

12 St. Pat's Day Recipes
By: Jennifer A.

Chili For One
Main Courses
15 Spring Recipes
By: Rosa L.
Mom's Salisbury Ground Beef
Main Courses

Taste the World in 10 Dishes
By: Robert W.
Classic Balsamic Chicken
Main Courses
10 Valentine's Day Treats
By: Jennifer A.

Amazing Thai Noodle Salad
Main Courses

8 Super Bowl® Drink Recipes
By: Robert W.