


About
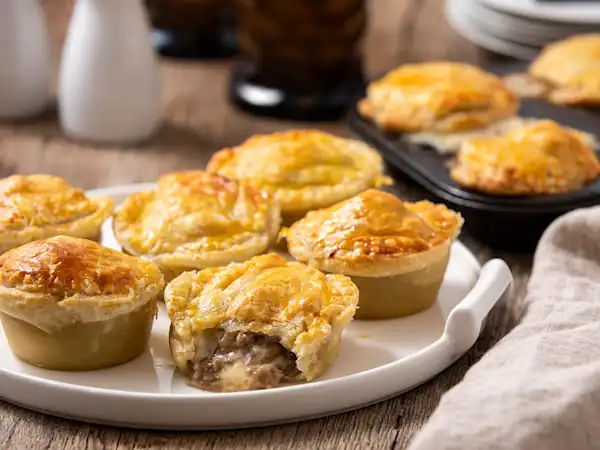
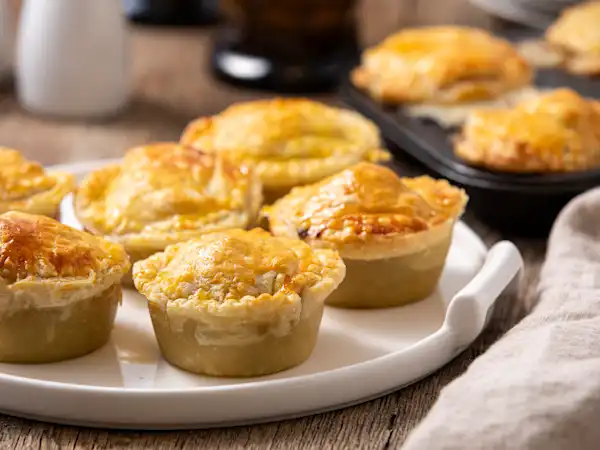
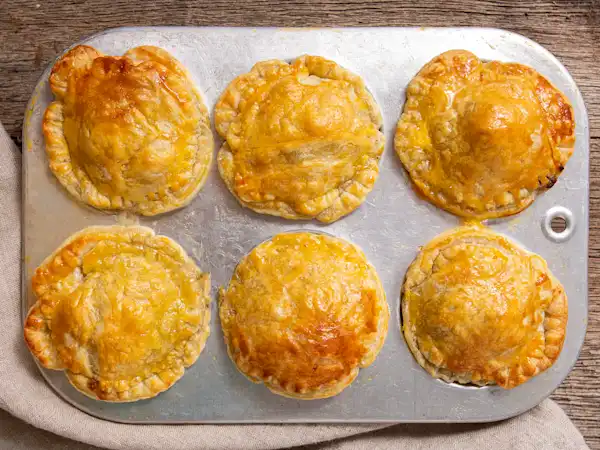
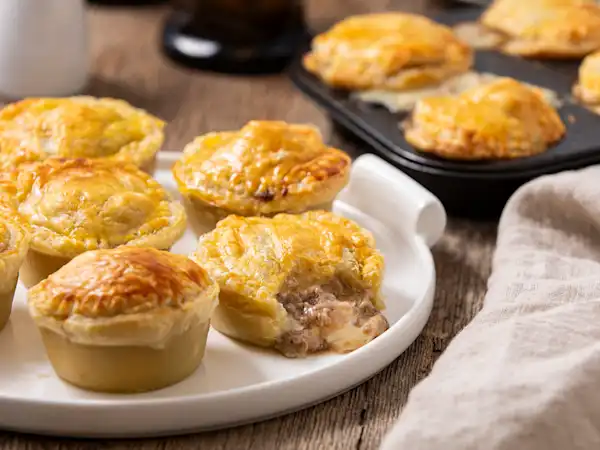
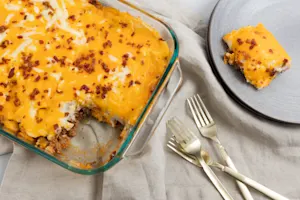
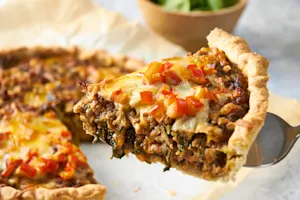
These are the kind of little savory treats you'd expect to find at the local watering hole. And yet here they are, right in your kitchen, warm and fantastic! Mini Beef & Cheddar Pies are flaky and golden-brown on the outside and extra savory and beefy on the inside; it's almost soup-like in its nourishing flavor! With melty, sharp cheddar mixed in, Mini Beef & Cheddar Pies are the warm winter comfort dish you'll absolutely love from the jump!


Ingredients
- 1 tablespoon olive oil
- 1 small onion, finely diced
- 1 clove garlic, minced
- 1 pound lean ground beef
- 1/2 teaspoon salt
- black pepper, to taste
- 3 tablespoons flour
- 1 1/2 cups beef stock
- 1 teaspoon Worcestershire sauce
- 2 (17.3-ounce, 2-count) packages pre-rolled puff-pastry, thawed in the refrigerator
- 3/4 cup aged white cheddar cheese, finely diced
- 1 egg
Directions
Step 1 -In a large frying pan over medium heat, add the olive oil.
Step 2 -Add the onions to the hot oil and cook, while stirring often, until tender and starting to brown on the edges, about 2-3 minutes.
Step 3 -Add the garlic to the onions and cook, while stirring, until fragrant, about 1 minute.
Step 4 -Add the ground beef to the onion mixture and cook, while crumbling the beef, until the meat is no longer pink, about 5-7 minutes.
Step 5 -Add the salt and the black pepper to the beef mixture and stir to combine.
Step 6 -Sprinkle the flour over the beef mixture and cook, while stirring, until the raw flour smell disappears, about 1 minute.
Step 7 -Add the beef stock and the Worcestershire sauce to the beef mixture and stir to combine.
Step 8 -Bring the beef mixture to a boil, while scraping the bottom of the pan to release the browned bits.
Step 9 -Reduce the heat to medium-low and allow the beef mixture to simmer until it has reduced and thickened, about 6-8 minutes.
Step 10 -Pour the beef mixture into a bowl and allow it to cool to room temperature.
Step 11 -Cover and refrigerate the beef mixture until completely chilled, about 1-2 hours.
Step 12 -Line a baking sheet with parchment paper.
Step 13 -Transfer the puff pastry sheets from refrigerator and roll the sheets to an 1/8-inch thickness.
Step 14 -Cut the puff pastry sheets into 12 (4-inch) rounds and 12 (3-inch) rounds. You may want to pre-mark the rounds before cutting to ensure you have enough of the puff pastry sheets mapped out.
Step 15 -Transfer the puff pastry rounds to the prepared baking sheet.
Step 16 -Let the puff pastry rounds chill in the refrigerator for 30 minutes.
Step 17 -Lightly grease a 12-cup muffin tin.
Step 18 -Place 1 of the large puff pastry rounds into the base of each prepared muffin cup, pressing along the sides so they are flush with the bottom and the sides of the tin. The dough should slightly overlap the rims of the muffin cups, so stretch the dough a little as needed.
Step 19 -Transfer the beef mixture from the refrigerator.
Step 20 -Add the white cheddar to the beef mixture and stir to combine.
Step 21 -Evenly divide the beef mixture between pastry rounds in the muffin cups, packing each cup to the top.
Step 22 -In a bowl, add the egg and beat it.
Step 23 -Using a pastry brush, brush the edges of the pastry overlapped in the muffin cups with the beaten egg.
Step 24 -Top each of the beef mixtures in the cups with 1 of the smaller puff pastry rounds, pressing around the edges with a fork to create a seal.
Step 25 -Cut a small slit into the top of each of the pies.
Step 26 -Brush the tops of the pies with the beaten egg.
Step 27 -Freeze the pies for 15 minutes.
Step 28 -Preheat the oven to 425 degrees F.
Step 29 -Bake the pies until golden-brown, about 20-25 minutes.
Step 30 -Allow the pies to cool for 10 minutes.
Step 31 -Serve.
Grocery Prices Are Out of Control — These Tricks Will Help
Sponsored

Do You Know These 9 Sam's Club Hacks?
By: Jennifer A.
The Dumb Money Mistake You’re Probably Still Making
Sponsored
14 Easter Recipes
By: Rosa L.
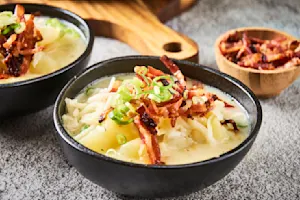
Church Lunch Soup
Soups & Salads
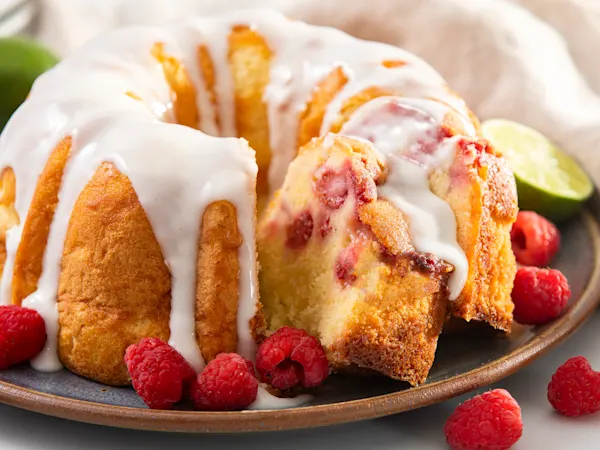
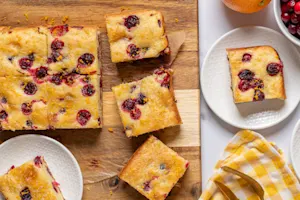
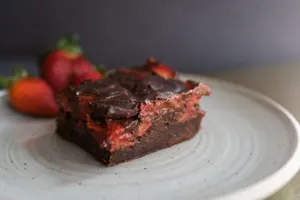
15 Sheet Cake Recipes
By: Jennifer A.
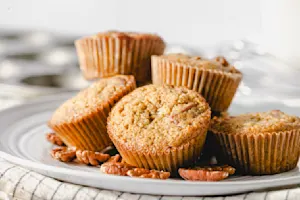
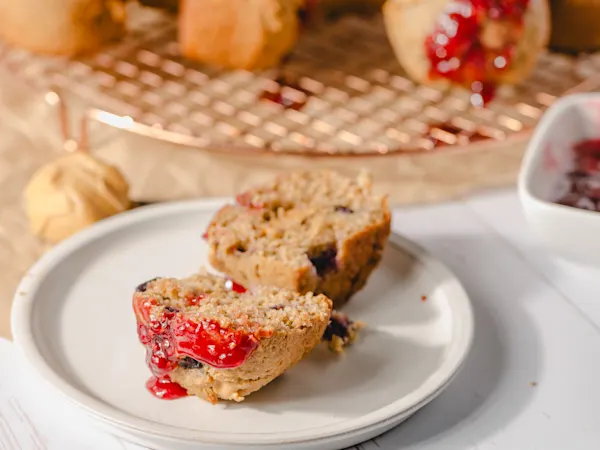
Southern Pecan Pie Muffins
Breakfast & Brunch
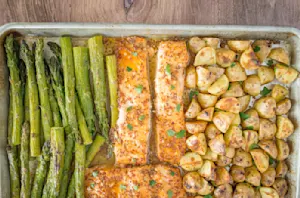
13 Sheet-Pan Recipes
By: Rosa L.
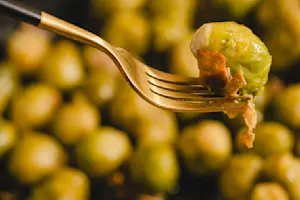
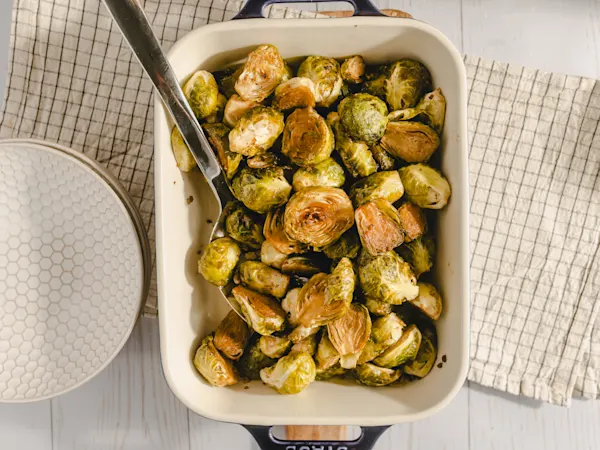
Thanksgiving Brussels Sprouts
Side Dishes
9x13 Dinner Recipes
By: Rosa L.
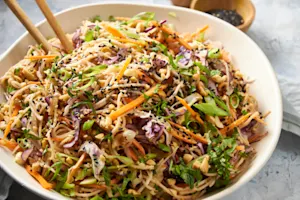
Thanksgiving Broccoli Salad
Soups & Salads

15 Spring Veggie Recipes
By: Jennifer A.
Simple Beef Dinner
Main Courses
15 Retro Recipes
By: Jennifer A.
Famous Beef Pie
Main Courses
12 Mother's Day Treats
By: Rosa L.
Hamburger Potato Bake
Main Courses
12 Mother's Day Dishes
By: Jennifer A.
Chili For One
Main Courses

12 St. Pat's Day Recipes
By: Jennifer A.
Mom's Salisbury Ground Beef
Main Courses
15 Spring Recipes
By: Rosa L.
Classic Balsamic Chicken
Main Courses
Taste the World in 10 Dishes
By: Robert W.
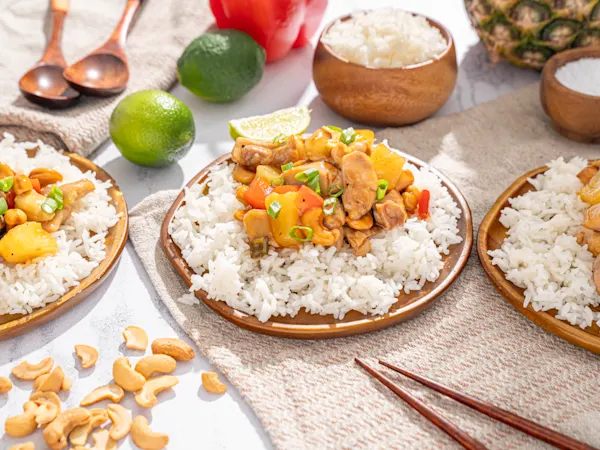
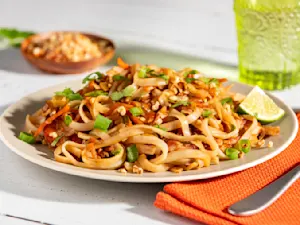
Amazing Thai Noodle Salad
Main Courses
10 Valentine's Day Treats
By: Jennifer A.
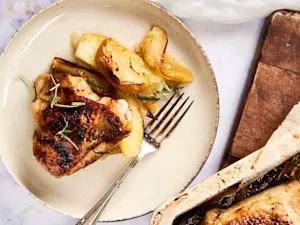
Harvest Roasted Chicken
Main Courses

8 Super Bowl® Drink Recipes
By: Robert W.