

About
This Blackberry Cheese Danish is a must-try for pastry-lovers of all kinds. With its flaky, buttery crust and creamy, tangy cheese filling, this Danish is sure to satisfy any sweet tooth, too. The addition of blackberries gives it a burst of fruity goodness that pairs perfectly with the richness of the cheese. The finishing touch of a sweet glaze brings everything together, making this a decadent treat that's perfect for breakfast or dessert... we won't judge! Make this delightful Blackberry Cheese Danish for a special occasion or just because you want to treat yourself, either way, you're sure to enjoy it!


Ingredients
- For the cream cheese layer:
- 1 sheet puff pastry, thawed (if frozen)
- 4 ounces Neufchâtel cream cheese
- 1 tablespoon powdered sugar
- 1 tablespoon lemon curd
- 1 tablespoon fresh thyme
- For the berry layer:
- 1 cup blueberry jam
- 2 cups fresh blackberries
- 1 tablespoon cornstarch
- For the glaze:
- 4 tablespoons powdered sugar
- 1 tablespoon half-and-half
Directions
Step 1 -Preheat the oven to 425 degrees F.
Step 2 -Line a sheet pan with parchment paper.
Step 3 -Roll the puff pastry sheet out on the prepared pan, rolling the edges out all the way around the pan.
Step 4 -Mix the cream cheese with the powdered sugar, the lemon curd, and the thyme in a small bowl.
Step 5 -Spread a thin layer of the cream cheese mixture onto the puff pastry sheet.
Step 6 -Mix the jam, the blackberries, and the cornstarch together in a small bowl.
Step 7 -Drop spoonfuls of the blackberry mixture onto the cream cheese layer and use the spoon to evenly spread it out over the pastry.
Step 8 -Bake the pastry until it is golden-brown, about 20 minutes.
Step 9 -Allow the pastry to cool for 30 minutes.
Step 10 -Mix the powdered sugar and the half-and-half together until it is smooth.
Step 11 -Drizzle the glaze over the entire pastry and cut it into rectangles.
Step 12 -Serve.
Grocery Prices Are Out of Control — These Tricks Will Help
Sponsored

Do You Know These 9 Sam's Club Hacks?
By: Jennifer A.
The Dumb Money Mistake You’re Probably Still Making
Sponsored
14 Easter Recipes
By: Rosa L.
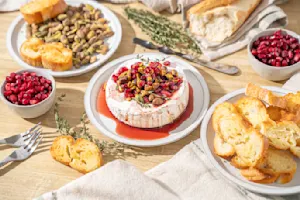
Ball-Drop Baked Brie
Apps & Snacks
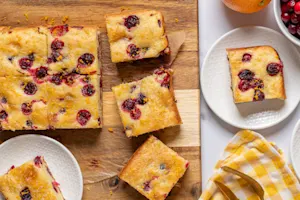
15 Sheet Cake Recipes
By: Jennifer A.
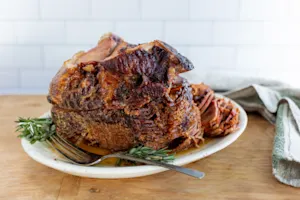
Slow Cooker Glazed Ham
Main Courses
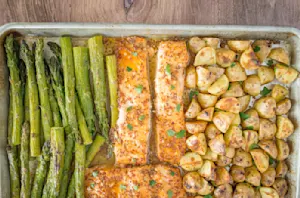
13 Sheet-Pan Recipes
By: Rosa L.
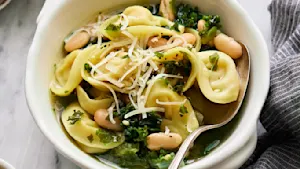
Tony's Tortellini Soup
Soups & Salads
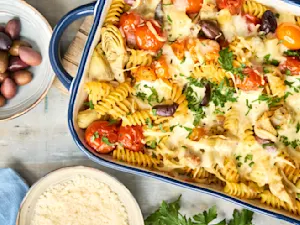
9x13 Dinner Recipes
By: Rosa L.
Italian Beef Biscuit Bake
Main Courses

15 Spring Veggie Recipes
By: Jennifer A.
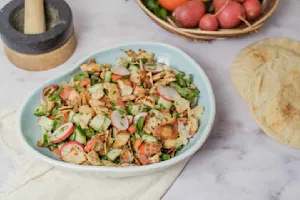
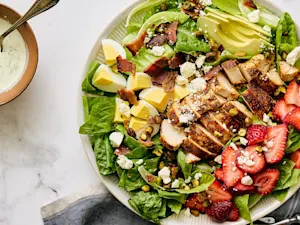
Greek Fattoush Salad
Soups & Salads
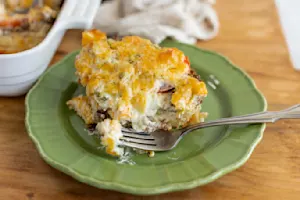
15 Retro Recipes
By: Jennifer A.
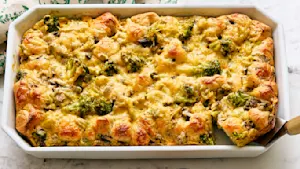
Broccoli Bubble Bake
Side Dishes
12 Mother's Day Treats
By: Rosa L.
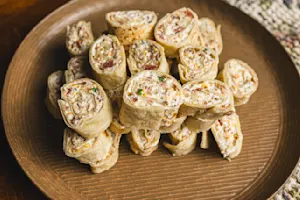
Wrap-It-Up Pinwheels
Apps & Snacks
12 Mother's Day Dishes
By: Jennifer A.
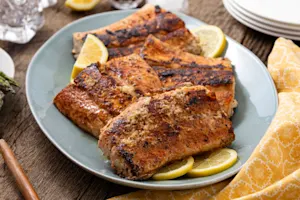
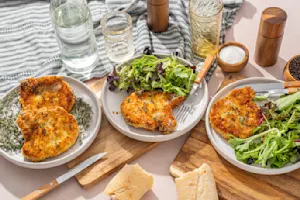
20-Minute Fish
Main Courses

12 St. Pat's Day Recipes
By: Jennifer A.
The-8th-Hole Mac
Side Dishes
15 Spring Recipes
By: Rosa L.
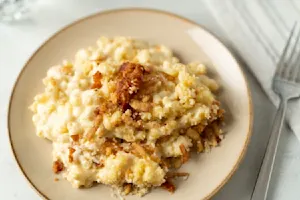
Grandma's Dream Pastina
Main Courses
Taste the World in 10 Dishes
By: Robert W.
Squash & Rice Casserole
Side Dishes
10 Valentine's Day Treats
By: Jennifer A.
Load Up Those Pork Chops
Main Courses

8 Super Bowl® Drink Recipes
By: Robert W.