


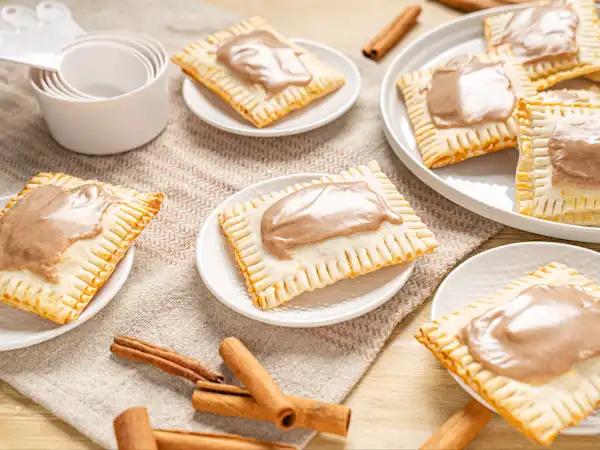
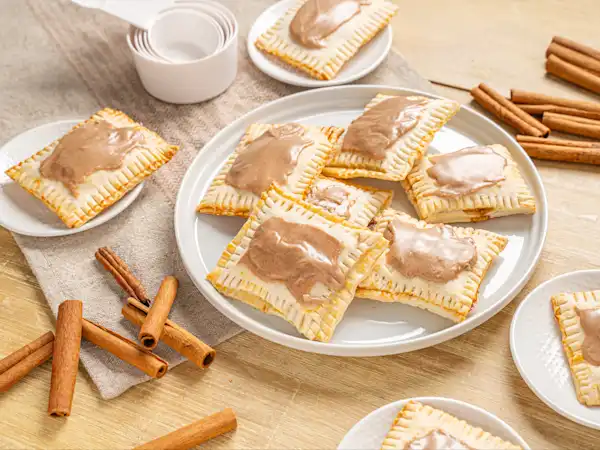
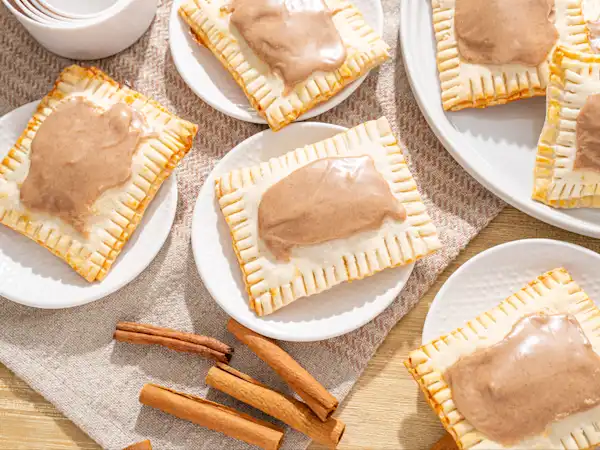
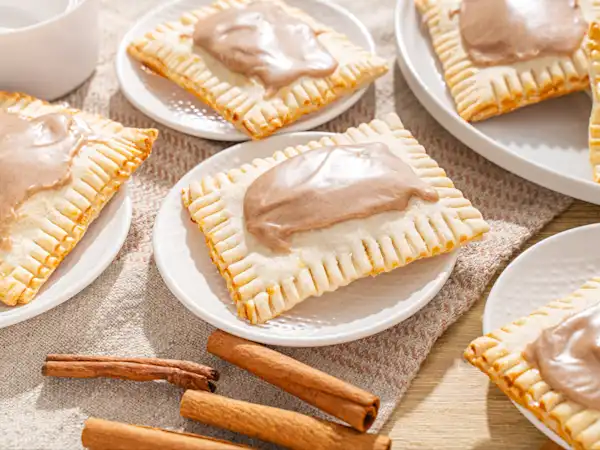


About
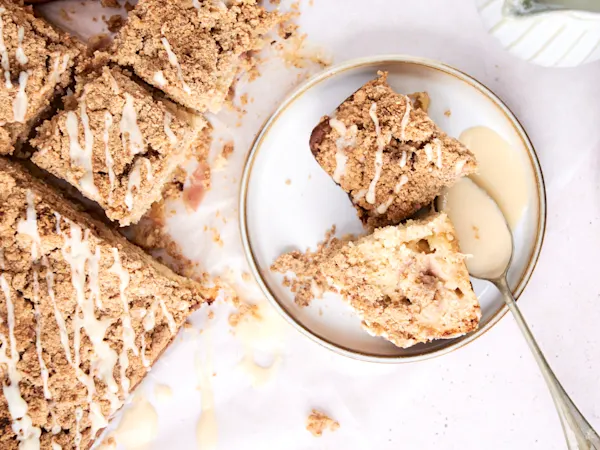
Remember the mornings grabbing those shiny, foil-wrapped pastries out of the box and chowing down while watching cartoons? There was nothing like it! But what if we told you that you could make Saturday Morning Pop-Tarts®... and that they'll be even better than you remember?! It's true! You'd be hard-pressed to find anything better than these flaky pastries that are filled and smothered with cinnamon-y goodness. They're way, way better than the packaged king and you'll soon see why! So, go turn on the cartoons, because you've got some very yummy Saturday Morning Pop-Tarts to properly enjoy!


Ingredients
- For the pastry:
- 2 1/2 cups all-purpose flour, spooned and leveled, plus more, to taste,for dusting a work surface and your hands
- 2 teaspoons granulated sugar
- 1 teaspoon salt
- 1 cup unsalted butter, chilled and cubed
- 1/2 cup ice water, plus more, to taste
- For the cinnamon filling:
- 1/2 cup dark or light brown sugar, packed
- 2 teaspoons ground cinnamon
- 1 tablespoon all-purpose flour
- 1 large egg
- 2 teaspoons milk
- For the cinnamon glaze:
- 3/4 cup confectioners' sugar, sifted
- 1 tablespoon milk, plus more, to taste
- 1/2 teaspoon ground cinnamon
- 1/4 teaspoon pure vanilla extract
Directions
Step 1 -In a large bowl, add 2 1/2 cups of the flour, the granulated sugar, and the salt and whisk to combine.
Step 2 -Use a pastry cutter or two forks to cut the butter into the flour mixture until it resembles pea-sized bits.
Step 3 -Drizzle 1/2 cup of the ice water, 1 tablespoon at a time, over the flour mixture and use a spatula to stir after each addition until the dough begins to form large clumps. Note: If the dough is too dry, add the extra ice water, but be careful not to add more than needed.
Step 4 -Use the extra flour to dust a work surface.
Step 5 -Transfer the dough to the prepared work surface and use the extra flour to dust your hands. Use your floured hands to gently bring the dough mixture together into a ball. Avoid overworking it. If it feels too dry or crumbly, dip your fingers into the extra ice water. If it feels too sticky, sprinkle more of the extra flour over the dough.
Step 6 -Use a sharp knife or bench scraper to cut the dough ball in half.
Step 7 -Gently flatten each of the dough halves into 1-inch-thick discs, then tightly wrap them with plastic wrap.
Step 8 -Transfer the wrapped dough discs to the refrigerator and chill for at least 2 hours and up to 5 days.
Step 9 -Line two baking sheets with parchment paper.
Step 10 -Transfer 1 of the dough discs from the refrigerator and allow it to sit at room temperature and let it rest, about 5 minutes. Keep the remaining dough disc in the refrigerator.
Step 11 -Use the extra flour to lightly dust a work surface.
Step 12 -Unwrap the dough disc and place it on the prepared work surface. Use a rolling pin to roll it into a 9x12-inch rectangle that is 1/8-inch-thick. Trim the sides, as needed.
Step 13 -Use a pizza cutter or a sharp knife to horizontally cut the dough rectangle into 3 evenly-sized portions. Then, repeat vertically to create 9 (3x4-inch) rectangles.
Step 14 -Evenly place the dough rectangles onto one of the prepared baking sheets, then transfer it in the refrigerator to chill.
Step 15 -Transfer the remaining dough disc from the refrigerator and repeat the cutting process from steps 10-14.
Step 16 -While the dough rectangles are chilling, in a small bowl, add the brown sugar, 2 teaspoons of the cinnamon, and the remaining 1 tablespoon of the flour and stir to combine.
Step 17 -In a small bowl, add the egg and 2 teaspoons of the milk and whisk to combine.
Step 18 -Transfer one of the baking sheets from the refrigerator and evenly brush 1/3 of the egg wash over the entire surface of each of the dough rectangles. These will be the bottoms of the pastries.
Step 19 -Place 1 heaping tablespoon of the cinnamon filling in the center of each of the bottom dough rectangles, then use the back of a spoon to evenly smooth it out over the surface, leaving a 1/4-inch-thick border around the edges.
Step 20 -Transfer the remaining baking sheet from the refrigerator, then brush 1/2 of the remaining egg wash over the surface of the dough rectangles. These will be the tops of the pastries.
Step 21 -Place 1 of the top pastries, egg-wash-side up, on top of the filling-topped bottom pastries and use your fingertips to firmly press around the pockets of the filling, sealing the dough well on all sides.
Step 22 -Use a toothpick to poke 6-8 holes in the tops of each of the filled pastries to allow steam to escape.
Step 23 -Use a fork to crimp the edges of each of the pastries, tightly sealing them.
Step 24 -Transfer the baking sheets to the refrigerator and chill the filled pastries for at least 20 minutes and up to 1 hour.
Step 25 -Preheat the oven to 350 degrees F.
Step 26 -Transfer the baking sheets from the refrigerator and evenly brush the filled pastries with the remaining egg wash.
Step 27 -Transfer the baking sheets to the oven and bake the filled pastries, rotating the sheets halfway through, until they are golden-brown, about 25-30 minutes.
Step 28 -Transfer the baking sheets to a wire rack and let them rest until they are completely cooled.
Step 29 -In a medium bowl, add the confectioners' sugar, the remaining 1 tablespoon of the milk, the remaining cinnamon, and the vanilla and whisk until it is thick but spreadable. If it is too thick, add the extra milk, 1 teaspoon at a time, until it is spreadable.
Step 30 -Spoon the cinnamon glaze over the tops of each of the cooled pastries and use the back of a spoon to evenly spread it out.
Step 31 -Let the glazed pastries rest until the glaze is set, about 1 hour.
Step 32 -Serve.
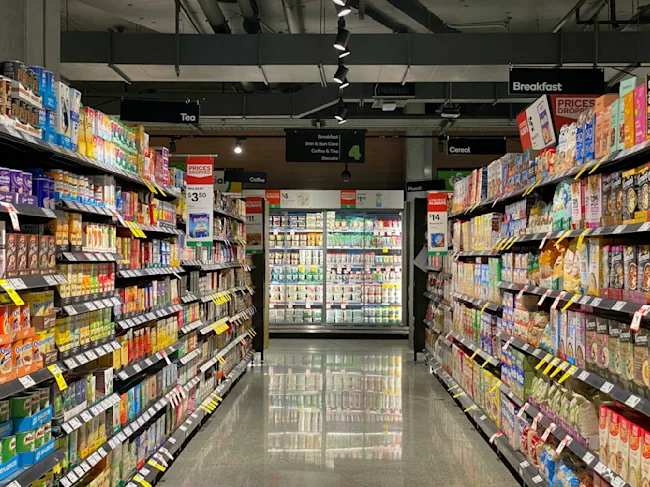
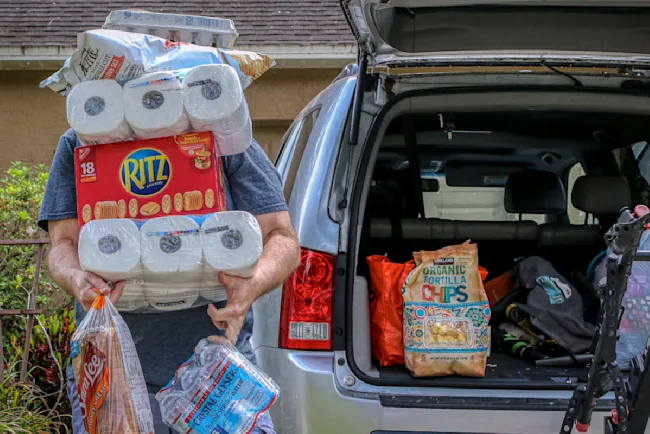
Grocery Prices Are Out of Control — These Tricks Will Help
Sponsored

Do You Know These 9 Sam's Club Hacks?
By: Jennifer A.
The Dumb Money Mistake You’re Probably Still Making
Sponsored
14 Easter Recipes
By: Rosa L.
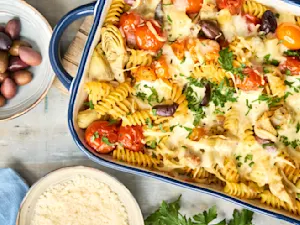
Seaside Fettuccine Bake
Main Courses
15 Sheet Cake Recipes
By: Jennifer A.
Backyard Baked Beans
Side Dishes
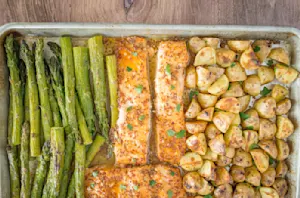
13 Sheet-Pan Recipes
By: Rosa L.
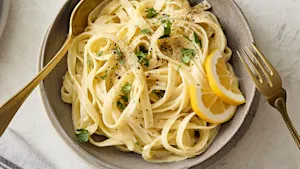
Crazy Lemon Pasta
Main Courses
9x13 Dinner Recipes
By: Rosa L.

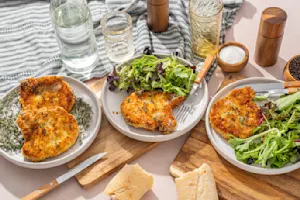
Easy Crab Cakes
Main Courses

15 Spring Veggie Recipes
By: Jennifer A.

Chicken Tortilla Wraps
Main Courses
15 Retro Recipes
By: Jennifer A.

Spanish Sunrise Omelet
Breakfast & Brunch
12 Mother's Day Treats
By: Rosa L.

Grilled Italian Sausages
Main Courses
12 Mother's Day Dishes
By: Jennifer A.
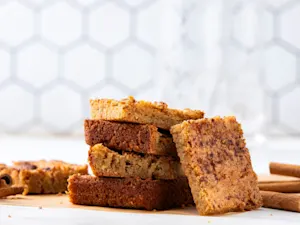
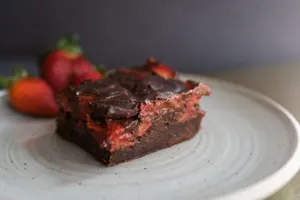
Easy Snickerdoodle Bars
Desserts

12 St. Pat's Day Recipes
By: Jennifer A.
Better Bacon Tortellini
Main Courses

15 Spring Recipes
By: Rosa L.
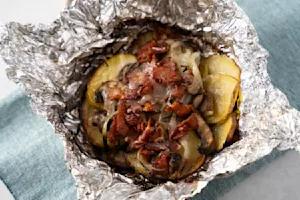
Cookout Potato Packets
Side Dishes

Taste the World in 10 Dishes
By: Robert W.
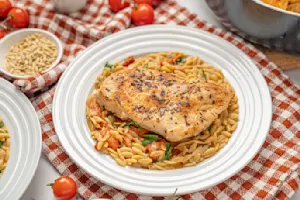
One Creamy Tuscan Orzo
Main Courses
10 Valentine's Day Treats
By: Jennifer A.
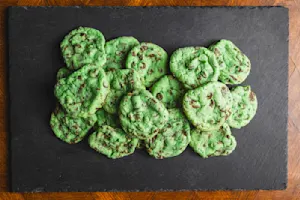
Mint Chocolate Chip Cookies
Desserts

8 Super Bowl® Drink Recipes
By: Robert W.