


About
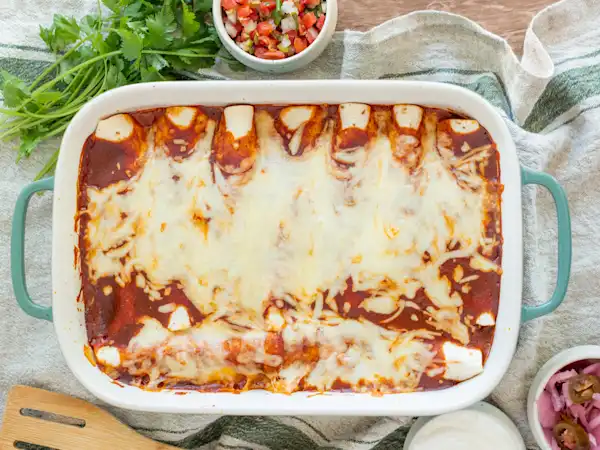
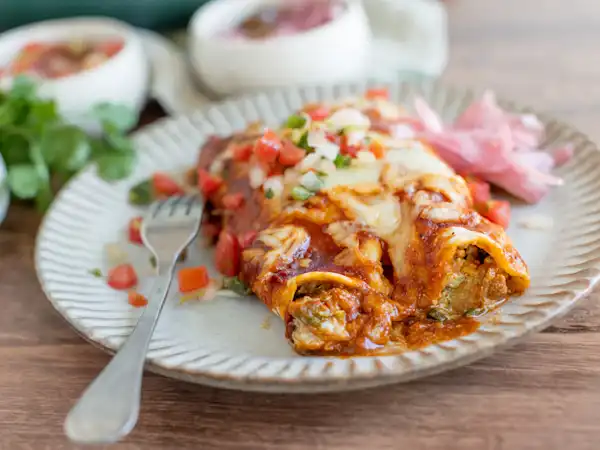
Mmmmm, Chicken & Spinach Enchiladas just sound great, don't they? Tender, savory chicken breasts and fresh spinach in a Tex-Mex blend of spices, with plenty of sour cream and cheese. And then wrapped in a tortilla, topped with enchilada sauce and even more cheese... yes, these Chicken & Spinach Enchiladas are the key to a good time. You'll be wrapped up in a great flavor after one bite!


Ingredients
- 1 tablespoon butter
- 1/2 cup green onions, sliced
- 2 cloves garlic, minced
- 2 large chicken breast halves, cooked, diced
- 1 (10-ounce) package frozen chopped spinach, thawed, drained and squeezed dry
- 1/2 teaspoon chili powder
- 1/4 teaspoon ground black pepper
- 1/8 teaspoon salt
- 1 cup ricotta cheese
- 1/2 cup sour cream
- 1 1/2 cups Monterey Jack cheese, shredded, divided
- 1 1/2 cups mozzarella cheese, shredded, divided
- 5 (10-inch) flour tortillas
- 2 (10-ounce) cans enchilada sauce
Directions
Step 1 -Preheat the oven to 350 degrees F.
Step 2 -Melt the butter in a saucepan over medium heat.
Step 3 -Add the green onions and the garlic to the butter and cook, while stirring, until fragrant and softened, about 2 minutes.
Step 4 -Stir the chicken, the spinach, the chili powder, the black pepper, and the salt into the green onion mixture and cook until heated through, about 5 minutes.
Step 5 -Transfer the saucepan from the heat.
Step 6 -Mix the ricotta cheese, the sour cream, 1 cup of the Monterey Jack cheese, and 1 cup of the mozzarella cheese into the chicken mixture until thoroughly combined.
Step 7 -Place the tortillas in paper towels and microwave them on high heat until they are warm and soft, about 30-45 seconds.
Step 8 -Spoon about 3/4 cup of the chicken filling in a line down the center of each of the tortillas.
Step 9 -Roll the tortillas around the filling and place them seam-side down in a 9x13-inch baking dish.
Step 10 -Pour the enchilada sauce over the enchiladas.
Step 11 -Sprinkle the enchiladas with the remaining Monterey Jack cheese and the remaining mozzarella cheese.
Step 12 -Bake the enchiladas until the filling is bubbling and the cheese topping is browned at the edges, about 30 minutes.
Step 13 -Serve.

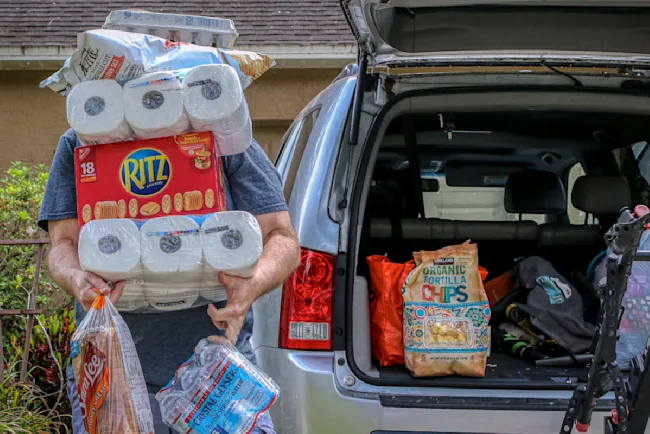
Grocery Prices Are Out of Control — These Tricks Will Help
Sponsored

Do You Know These 9 Sam's Club Hacks?
By: Jennifer A.
The Dumb Money Mistake You’re Probably Still Making
Sponsored
14 Easter Recipes
By: Rosa L.
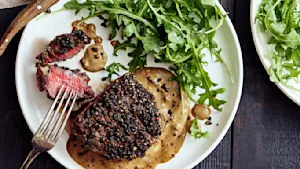
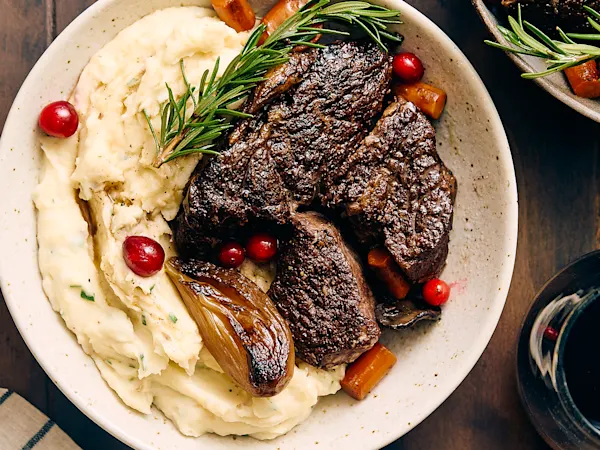
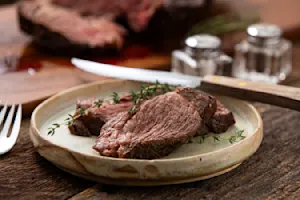
Christmas Filet Mignon
Main Courses
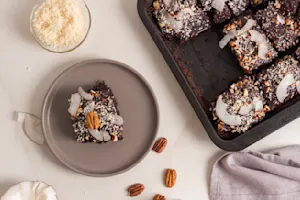
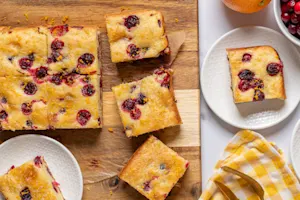
15 Sheet Cake Recipes
By: Jennifer A.
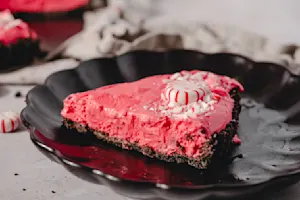
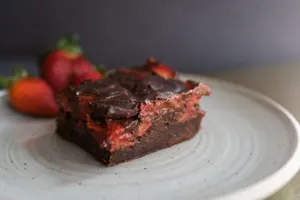
Pattie's Peppermint Pie
Desserts
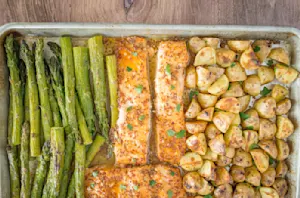
13 Sheet-Pan Recipes
By: Rosa L.
Holiday Tenderloin Roast
Main Courses
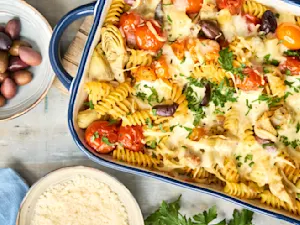
9x13 Dinner Recipes
By: Rosa L.
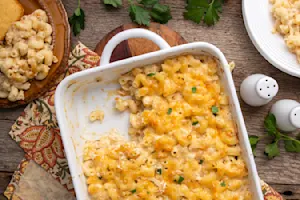
Winter Mac N' Cheese
Side Dishes

15 Spring Veggie Recipes
By: Jennifer A.

Special Christmas Chicken Dinner
Main Courses

15 Retro Recipes
By: Jennifer A.
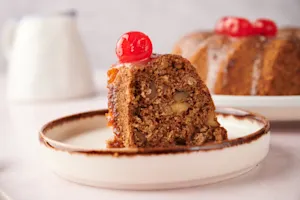
Shortcut Fruitcake
Desserts
12 Mother's Day Treats
By: Rosa L.

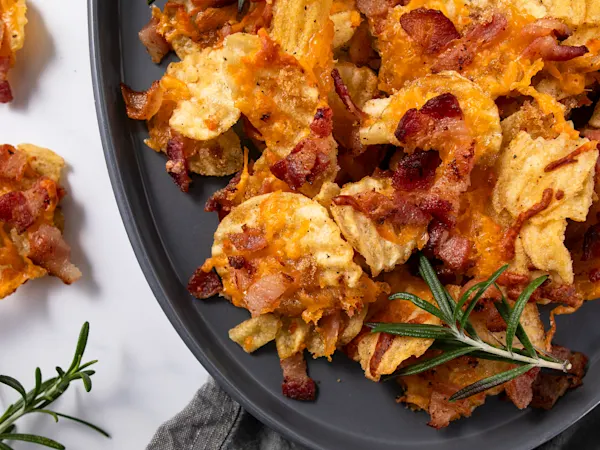
Winter Potatoes
Apps & Snacks
12 Mother's Day Dishes
By: Jennifer A.
Christmas Morning Cinnamon Roll Waffles
Breakfast & Brunch

12 St. Pat's Day Recipes
By: Jennifer A.

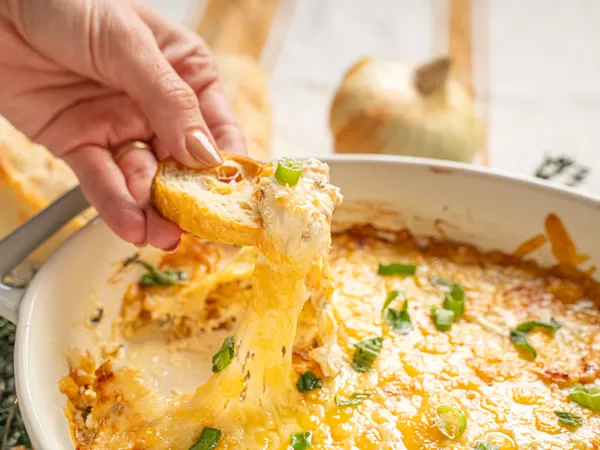
Deck-the-Halls Parmesan Bread
Apps & Snacks

15 Spring Recipes
By: Rosa L.

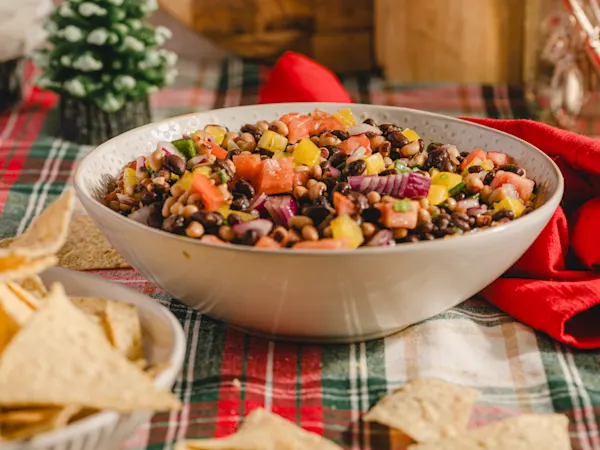
Bayou Christmas Skillet
Main Courses
Taste the World in 10 Dishes
By: Robert W.
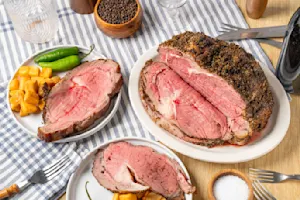
Perfect Christmas Prime Rib
Main Courses
10 Valentine's Day Treats
By: Jennifer A.
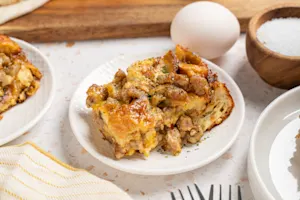
Cowboy Christmas Morning Casserole
Breakfast & Brunch
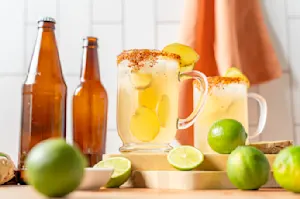
8 Super Bowl® Drink Recipes
By: Robert W.